Section19. 249) CoreData
어떤 프로젝트를 만들다가, 음 프로젝트에 들어갈 데이터가 그다지 많지 않을거같은데? 하고서 UserDefaults로 하다가 ...
만약 데이터 양이 많이 들어가야되는구나 라고 깨닫게 되는 순간,
해당 프로젝트에서 처음부터 CoreData 체크표시 안했더라도 중간과정에서도 CoreData를 추가할 수 있다. 다음과 같은 방법으로 ..
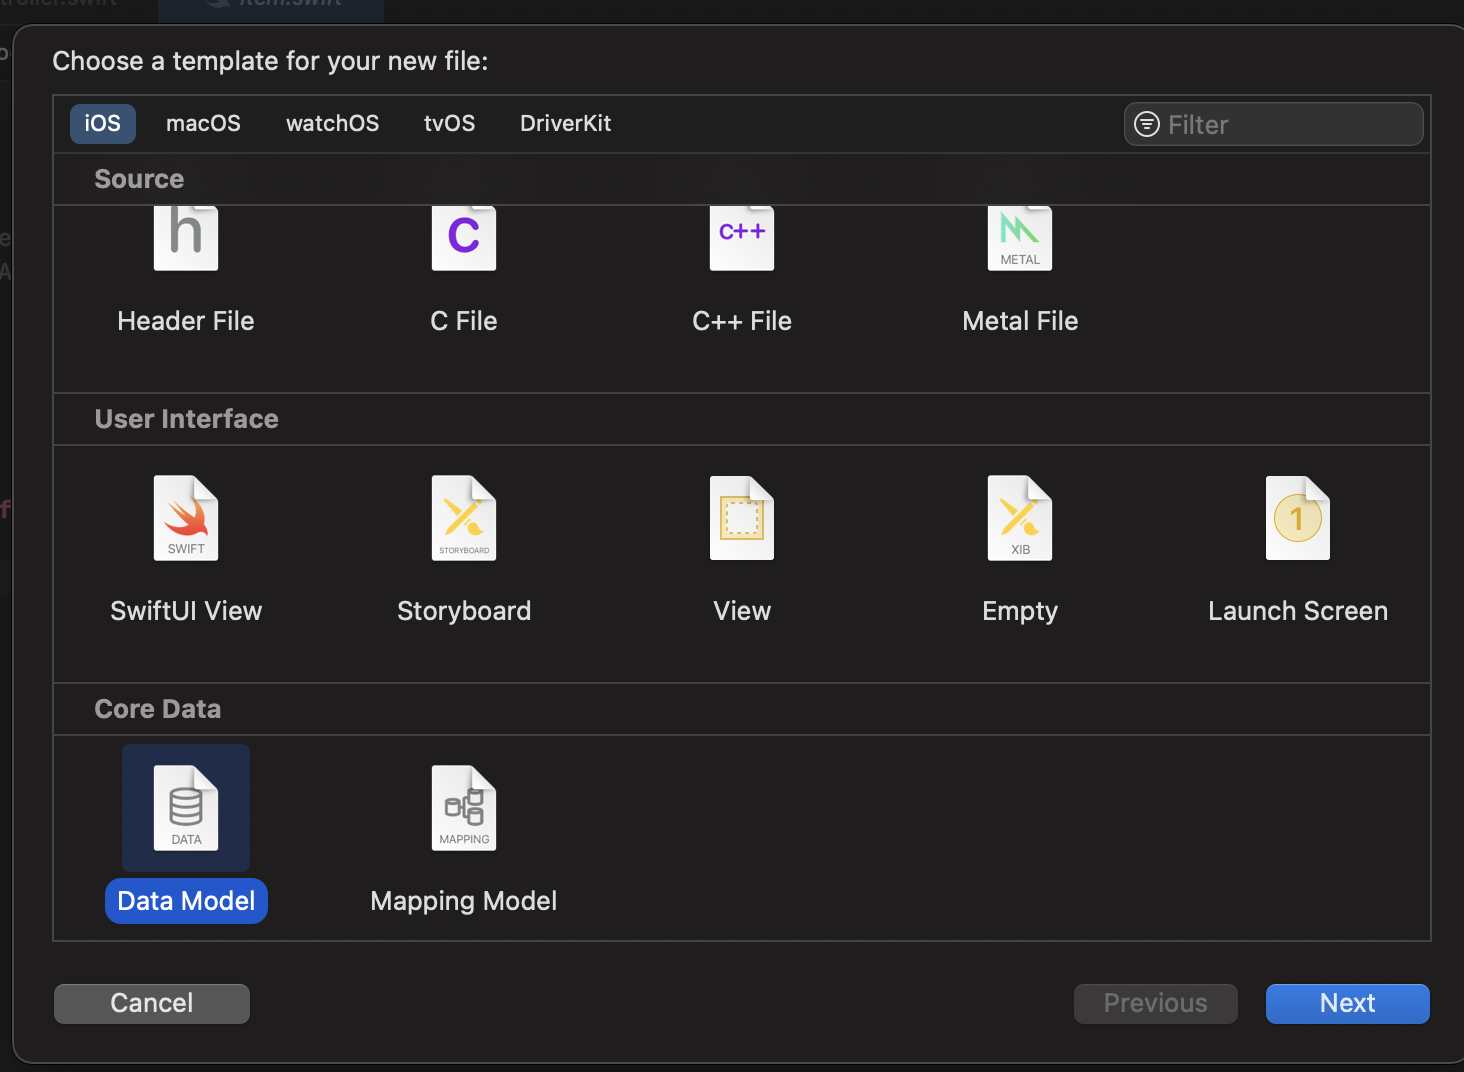
cmd+N 을 눌러 새로운 파일 생성하는 식으로 아래를 연다.
그리고 Data Model을 선택한다.
그리고 동시에,
현재 작업하고 있던 프로젝트 외에 새로운 프로젝트를 Core Data 를 체크한 상태로 생성한다.
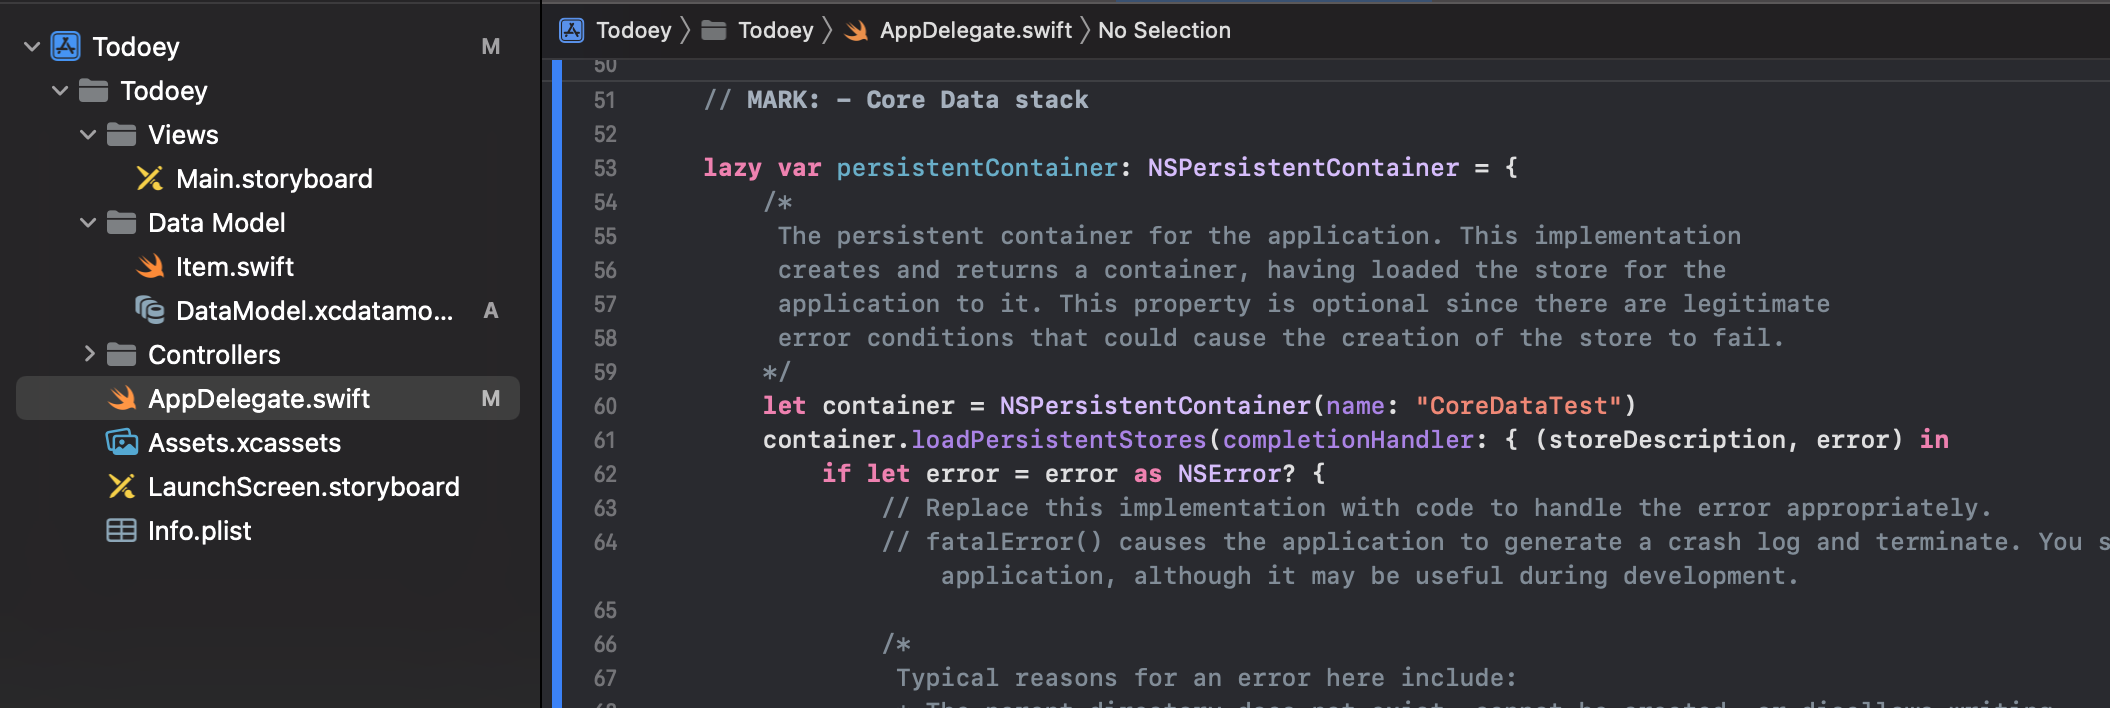
거기에서 AppDelegate.swift 를 연 다음, 아래 부분을 복사해서 원래의 프로젝트 AppDelegate.swift에 ApplicationWillTerminate부분부터 지우고 붙여넣는다. => 아... 강의 버전이 현재 버전과 맞지 않는다....
=> 여튼 CoreData 체크한 상태의 App Delegate와 현재 프로젝트의 App Delegate 상태를 일치시키면 된다.
// MARK: - Core Data stack
lazy var persistentContainer: NSPersistentContainer = {
/*
The persistent container for the application. This implementation
creates and returns a container, having loaded the store for the
application to it. This property is optional since there are legitimate
error conditions that could cause the creation of the store to fail.
*/
let container = NSPersistentContainer(name: "CoreDataTest")
container.loadPersistentStores(completionHandler: { (storeDescription, error) in
if let error = error as NSError? {
// Replace this implementation with code to handle the error appropriately.
// fatalError() causes the application to generate a crash log and terminate. You should not use this function in a shipping application, although it may be useful during development.
/*
Typical reasons for an error here include:
* The parent directory does not exist, cannot be created, or disallows writing.
* The persistent store is not accessible, due to permissions or data protection when the device is locked.
* The device is out of space.
* The store could not be migrated to the current model version.
Check the error message to determine what the actual problem was.
*/
fatalError("Unresolved error \(error), \(error.userInfo)")
}
})
return container
}()
// MARK: - Core Data Saving support
func saveContext () {
let context = persistentContainer.viewContext
if context.hasChanges {
do {
try context.save()
} catch {
// Replace this implementation with code to handle the error appropriately.
// fatalError() causes the application to generate a crash log and terminate. You should not use this function in a shipping application, although it may be useful during development.
let nserror = error as NSError
fatalError("Unresolved error \(nserror), \(nserror.userInfo)")
}
}
}
그리고 import CoreData해준다.
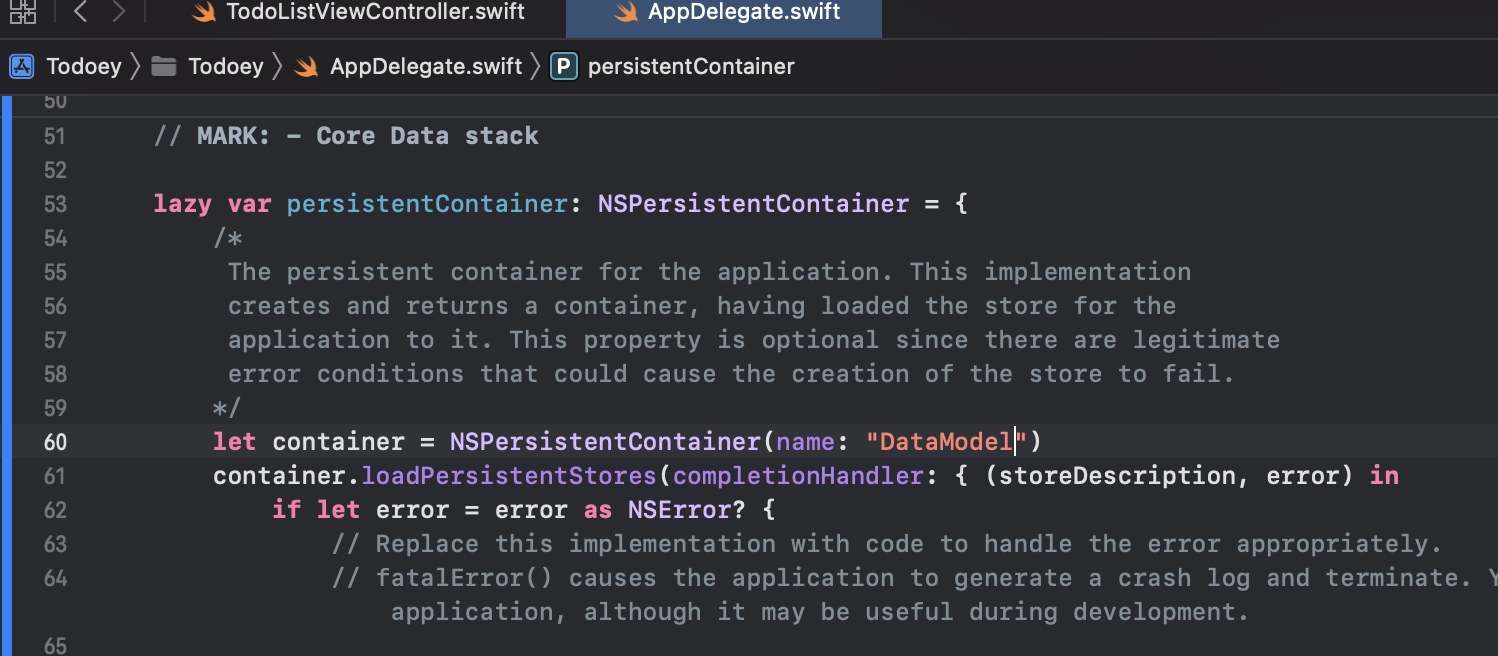
주의 : AppDelegate에서
아래 name: "CoreDataTest" 부분이 현재 프로젝트의 DataModel 파일 이름과 일치해야함.
다음과 같이 수정
Core Data 용어들
Entity : class 와 비슷 - entity 는 많은 attributes를 가진다.
Attribute: properties 와 비슷
Entity는 기본적으로 데이터 테이블과 비슷하다고 생각하면 됨.
Table : Entity: Class
cf) lazy var: 메모리 이점을 얻는다.
모든 것을 미리 설정하지 않고, 필요할 때만 메모리를 사용하므로.
위에서 lazy var로 선언되는 NSPersistentContainer: 기본적으로 모든 데이터를 저장할 위치. 실제로는 SQLite 데이터베이스가 된다.
그런데 왜 PersistentContainer로 불리는가(SQLite 대신에)? 다양한 유형의 영구데이터를 사용하기 때문.
기본 영구 데이터베이스는 SQLite데이터베이스가 될 것임.
func saveContext () {
let context = persistentContainer.viewContext
if context.hasChanges {
do {
try context.save()
} catch {
let nserror = error as NSError
fatalError("Unresolved error \(nserror), \(nserror.userInfo)")
}
}
}
위에서 context 는 git 에서 staging과 비슷. 커밋하고 싶은 것을 변경하고 업데이트를 할 수 있는 영역.
(스크래치 패드 또는 데이터를 업데이트, 변경, 삭제할 수 있는 임시 영역)
'iOS > iOS Swift Udemy - AngelaYu' 카테고리의 다른 글
| Section19 247) searchbar에서 검색 취소 클릭시 키보드 내리기 (0) | 2022.11.01 |
|---|---|
| Section19. 252) Core Data Fundamental / CRUD (0) | 2022.10.30 |
| Section19. 248) 데이터베이스 소개 (0) | 2022.10.29 |
| Section19. 246) NSCoder로 데이터 인코딩/디코딩(save & load) (0) | 2022.10.28 |
| Debug with breakpoint (0) | 2022.10.26 |